In this blog post, we will cover the topic of fully automated installation of WordPress on OVH dedicated server. We will cover all the steps to get fully working OVH WordPress application without any issues using only 1 hand, while you can drink tea with another one.
We will use our custom developed installer WordPress OVH to spin up and configure the ready-to-go dedicated server with a WordPress application.
Besides WordPress installations, our tool, which is called ServerFactory, is able to deploy various applications like Magento, OpenCart, PrestaShop, etc.
To spin up the server, configure it and install your application on it with SF, you will need:
– To have access to your “Dedicated Server”;
– On your server should be installed Ubuntu 16.04.
Let’s go step by step and figure out how to accomplish our task!
Registration and cluster creation
1) To start the registration process you need to follow the link and register there
This is a standard operation, everything is simple:
– Specify your email account;
– Create a password;
– Receive an email and follow the link to complete the registration.
2) The next step is to bind your server provider to the SF account:
– Go to the tab “Server Provider“, in the upper left of the screen;
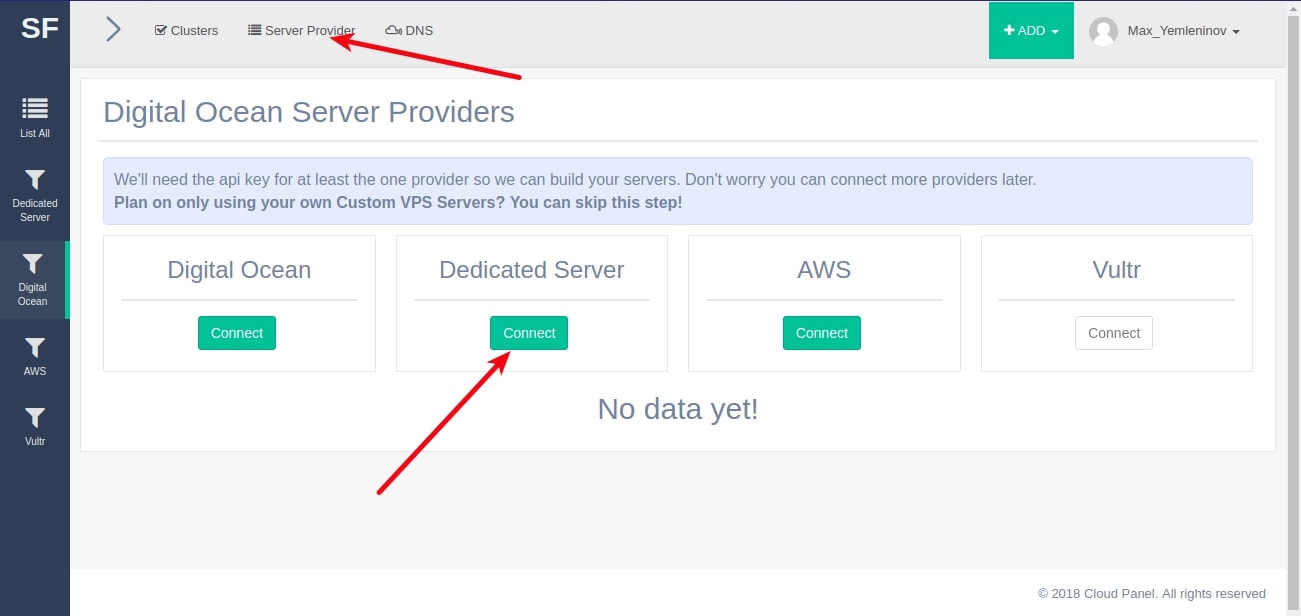
– Choose one of the three proposed server providers (choose the server provider which you have access to);
– Press the “Connect” button;
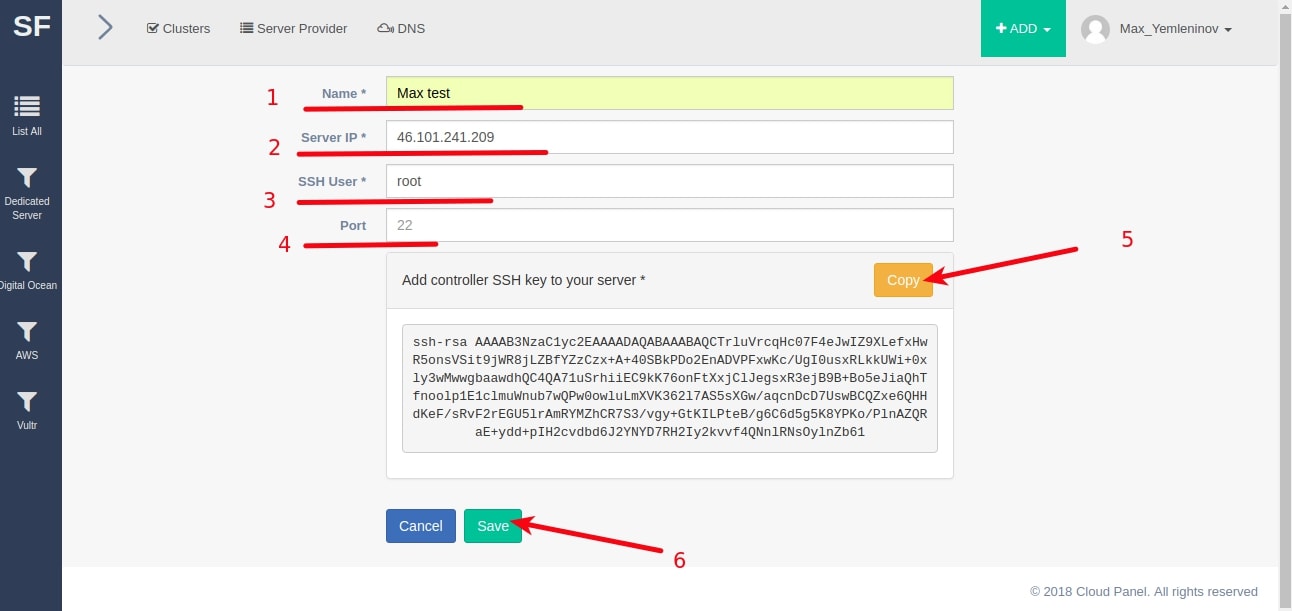
In our example, we’re using Dedicated Server for OVH Wordpress installation.
– After entering all the necessary data and adding controller SSH key to your server, press the “Save” button:
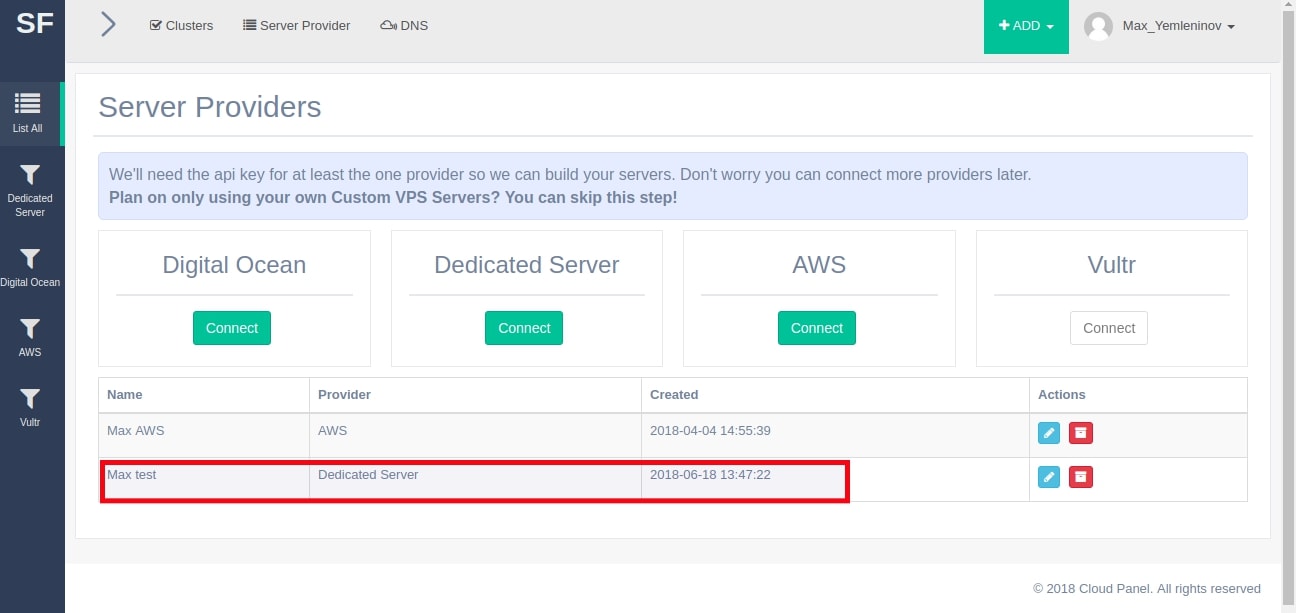
As you can see, our Dedicated Server is now attached to ServerFactory and we’re able to proceed with our OVH WordPress installation.
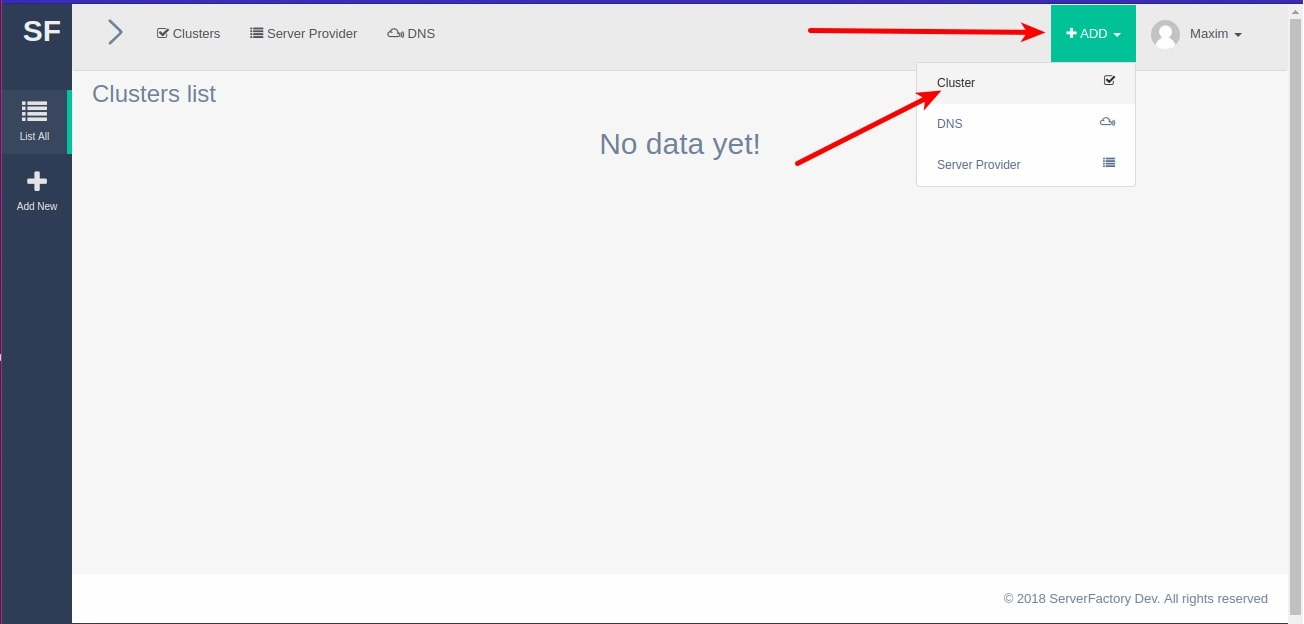
3) The next step is – create a cluster:
– At the top right of the screen, press the “ADD” button ⇒ Cluster;
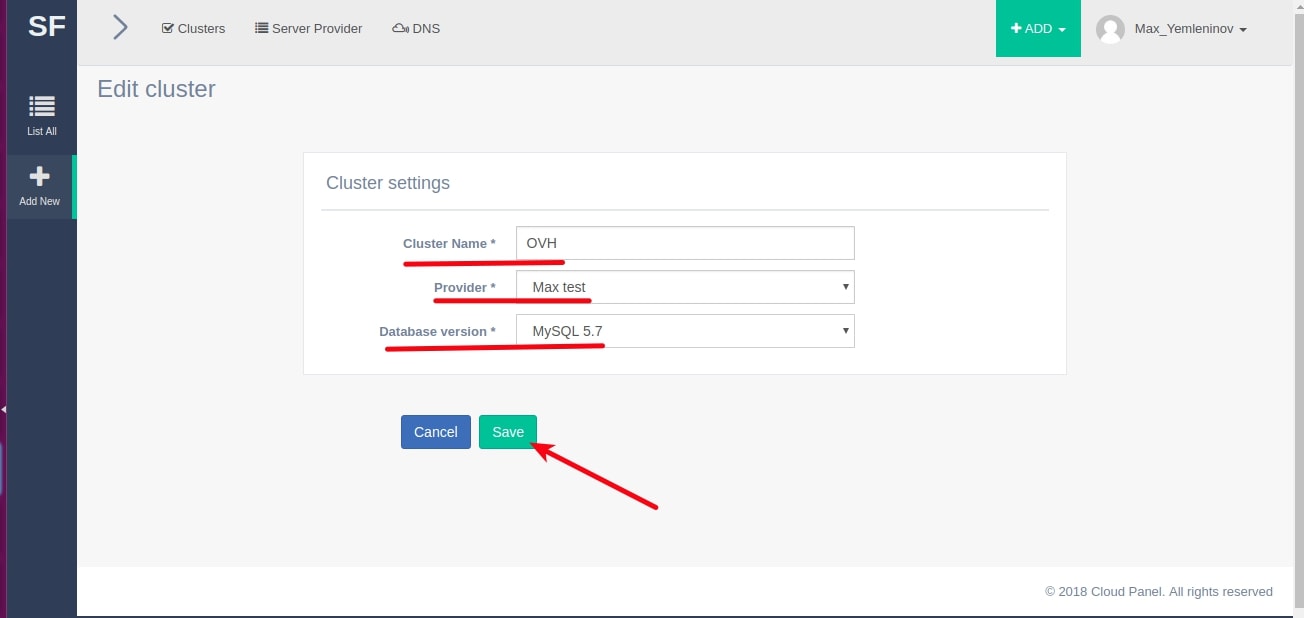
– Name your cluster;
– Choose the provider on which your WordPress OVH cluster will be located;
– Choose the version of your database;
– After all the lines are filled, click the “Save” button;
Wait few minutes, until the cluster installation is complete. Time for some tasty tea or coffee, right?)
Preparing to OVH WordPress application
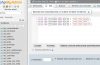
1) So, first of all you need to create a database:
– In the “Actions” column, click the “View” button. (You will enter on your cluster’s info page);
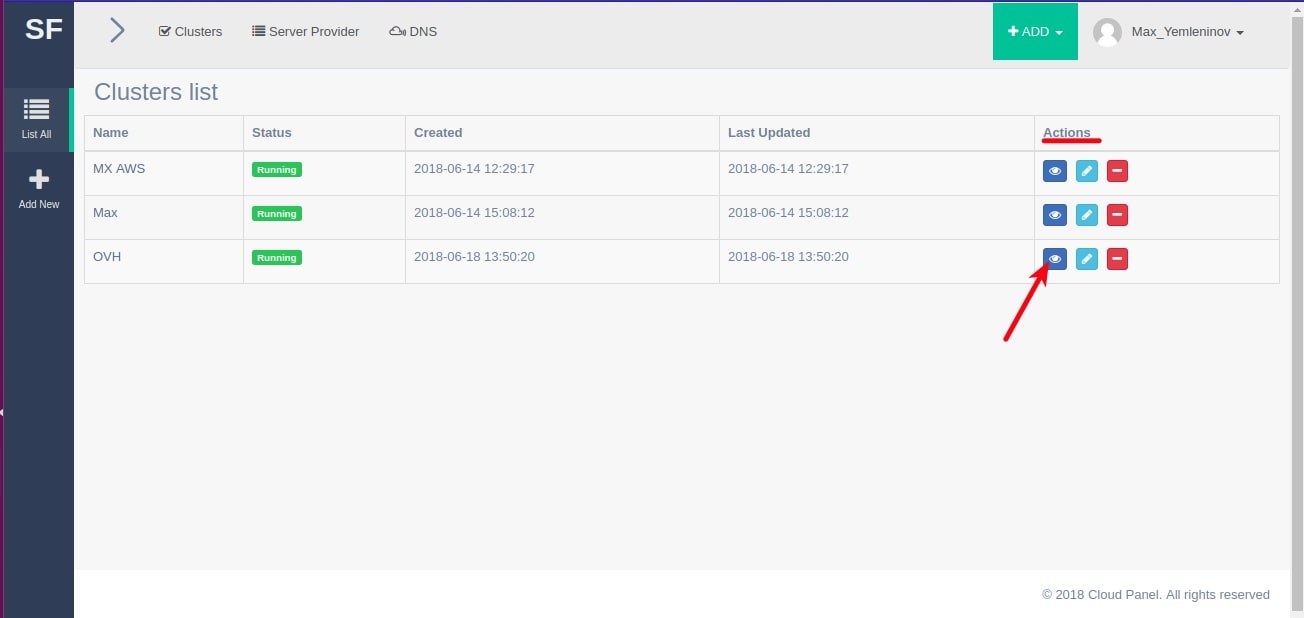
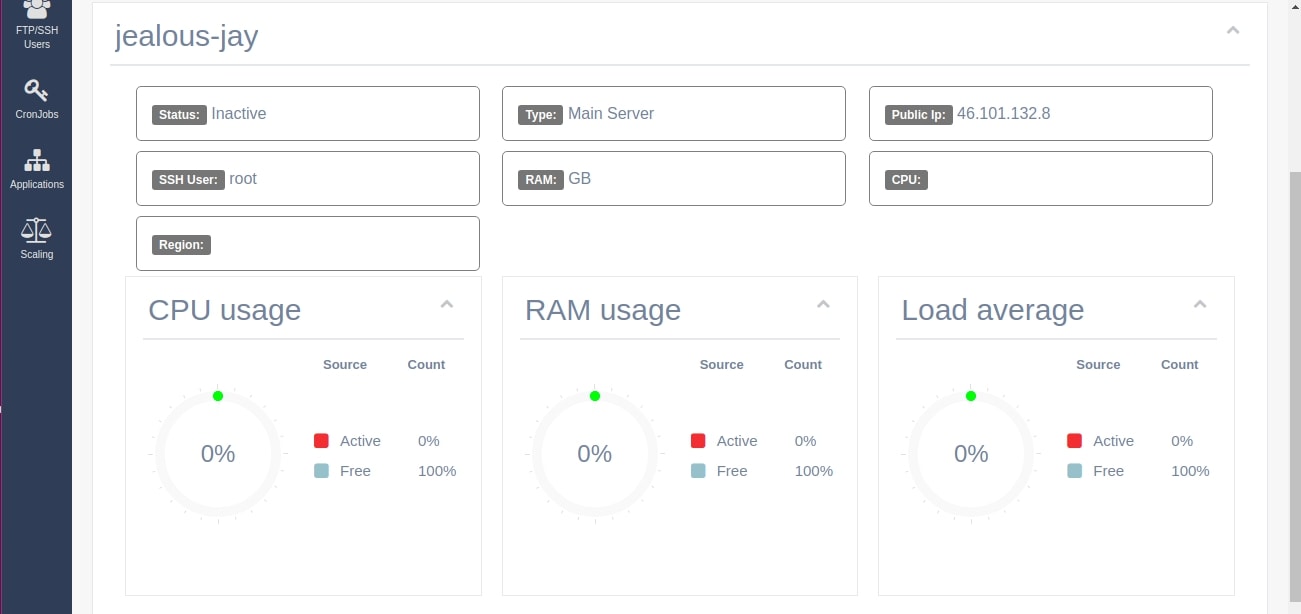
In this menu, you can see information about your cluster.
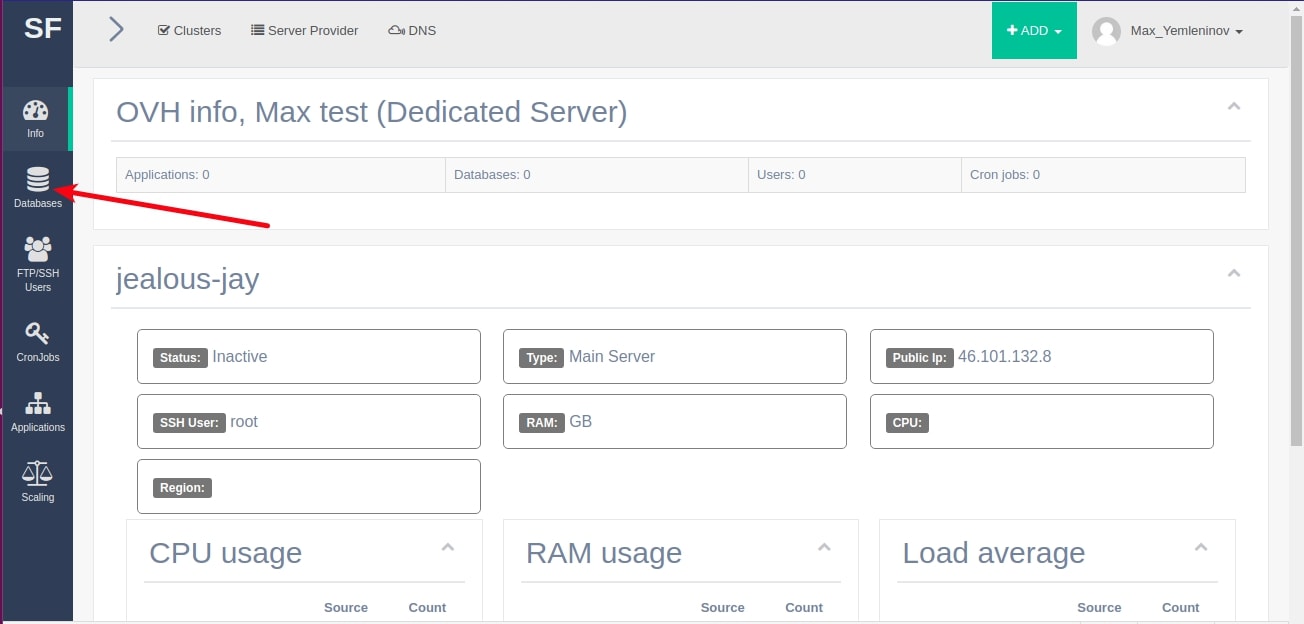
– On the left side of the screen, click the “Databases” button;
– Name your database and click the “Create database” button;
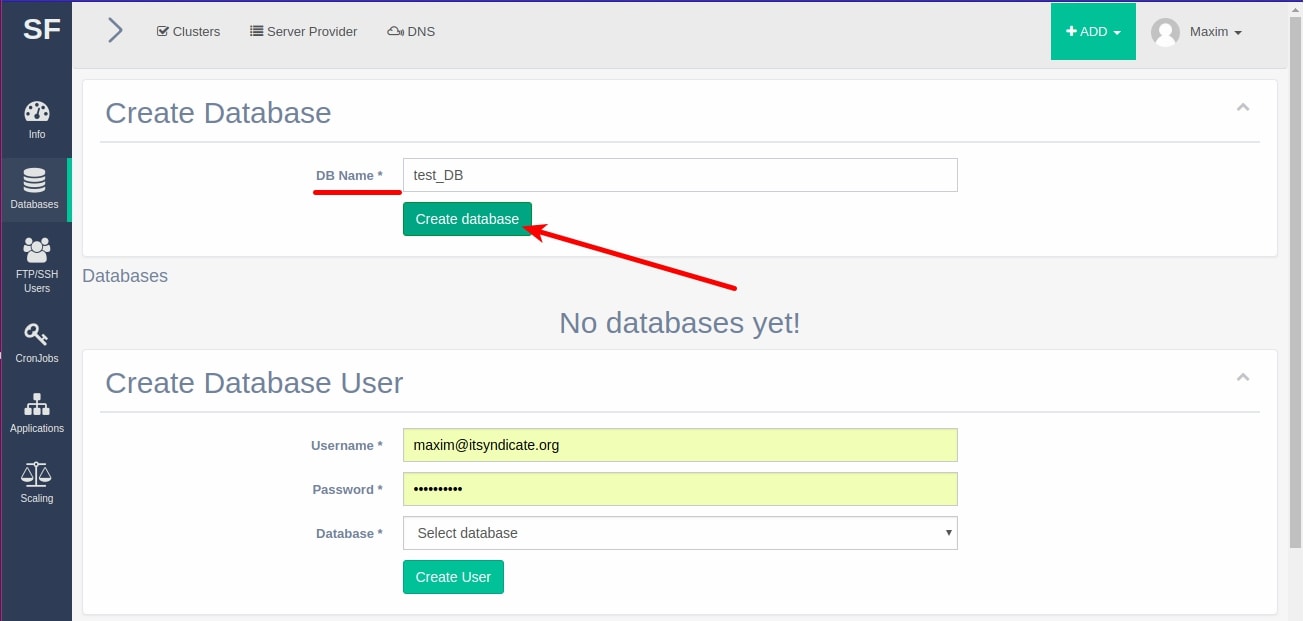
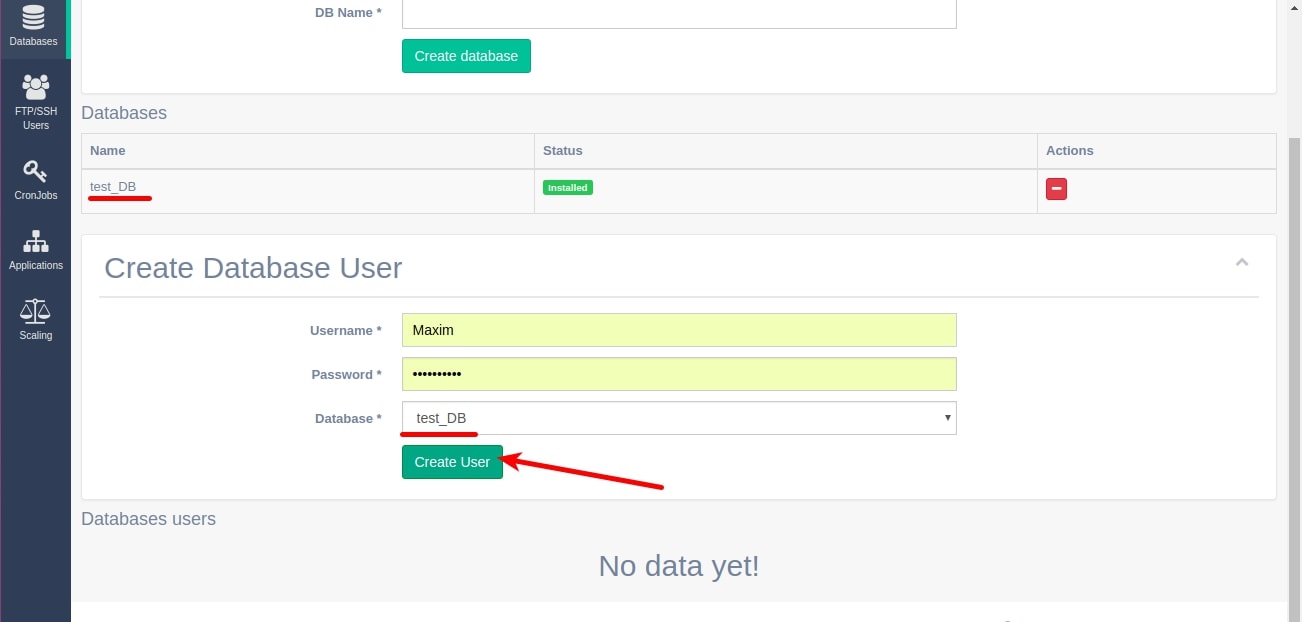
– Also in the “Databases” menu, you can create a “Database Users”:
– Enter a username, create a password and attach it to the existing database.
We’ll tell you about SSH / FTP users creation at the end of this blog post. These actions can be performed at the end of the installation of your application.
2) So, the next step is creation of a domain name for your WordPress OVH setup.
– All you need to do is to point your domain to your server. You can do it with the help of CloudFlare or any other DNS registrars.
Creation of your application
1) After the DNS has been successfully pointed, go to your cluster:
– Click on the “Clusters” button ⇒ “View“.
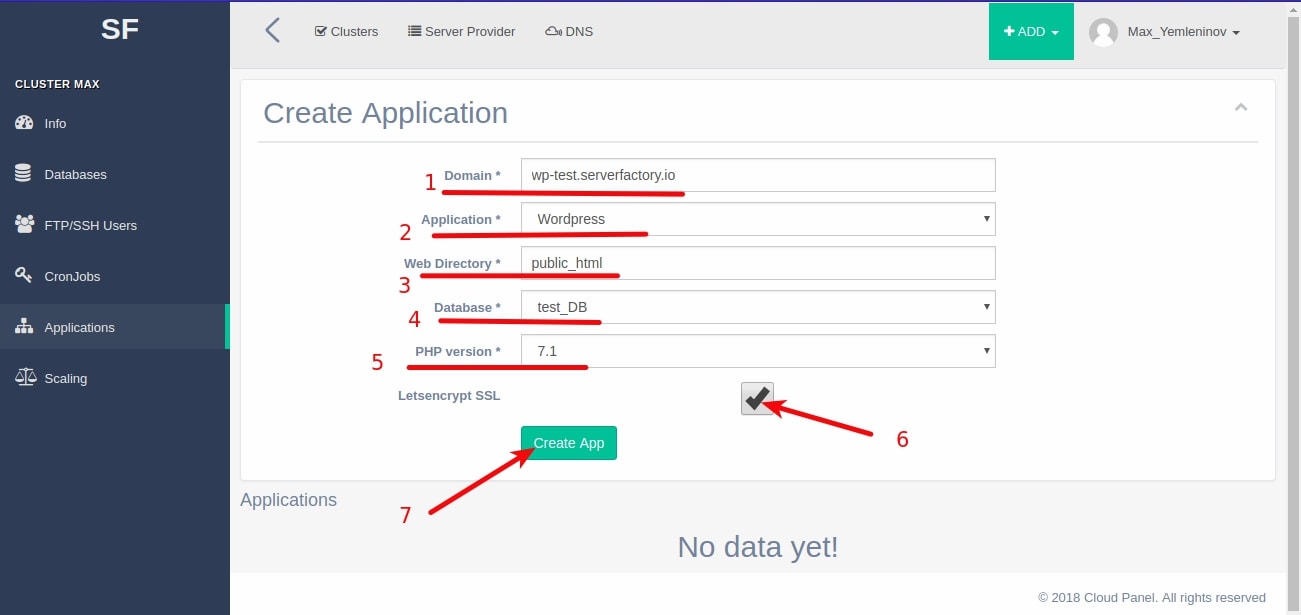
2) Go to the “Applications” tab, to create the application;
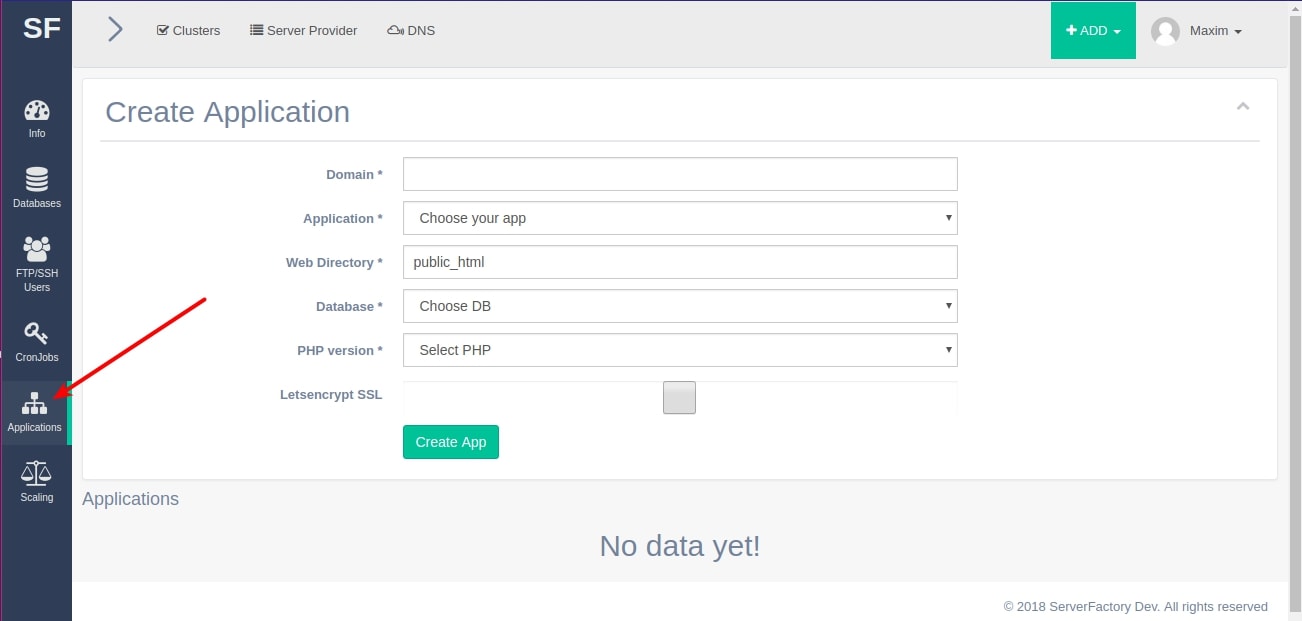
– Fill in all the fields and click the check box if you want to install Letsencrypt SSL. That’s done automatically and LE certificates are free for 90 days, so you should keep an eye on the expiration date of your certificate.
Indeed, users that are using our proactive server management do not have such issues, because our monitoring system detects expired or problematic SSL certificate and our guys will renew it and fix issues.
– Click the “Create App” button;
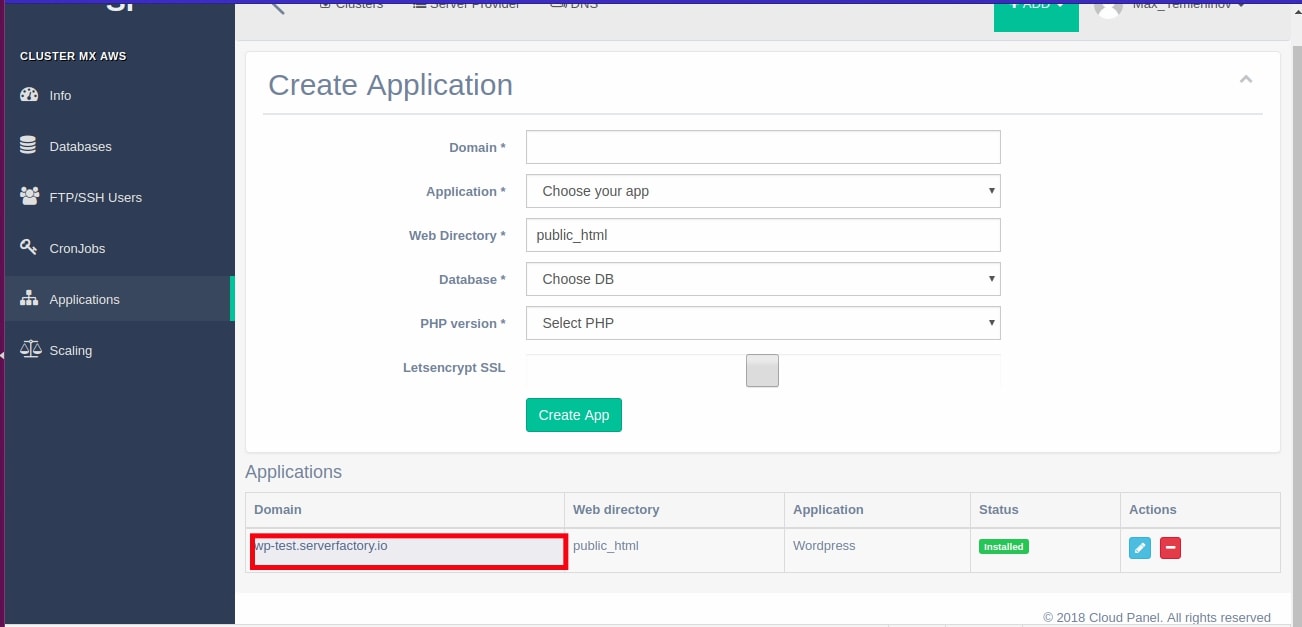
Wait until your application is installed. We don’t think that by that time you’ve already finished the cup of tea / coffee you prepared while you server was being configured, so you can just chill on this step. But if you do – you can definitely go and get yourself another one!
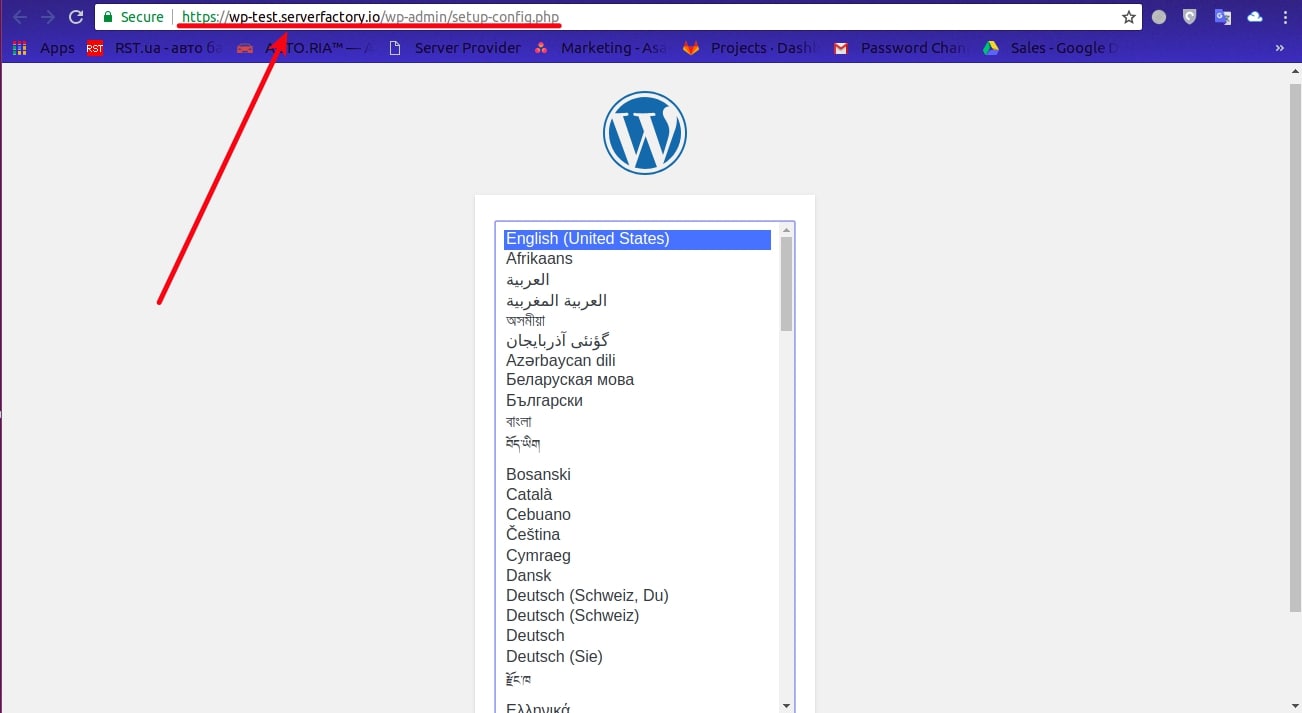
3) Go to the domain that you just created and check how OVH WordPress application works.
Creating SSH / FTP users
1) Creating SSH / FTP users. (This item can be executed in any order.):
– Go to the “SSH / FTP users” tab;
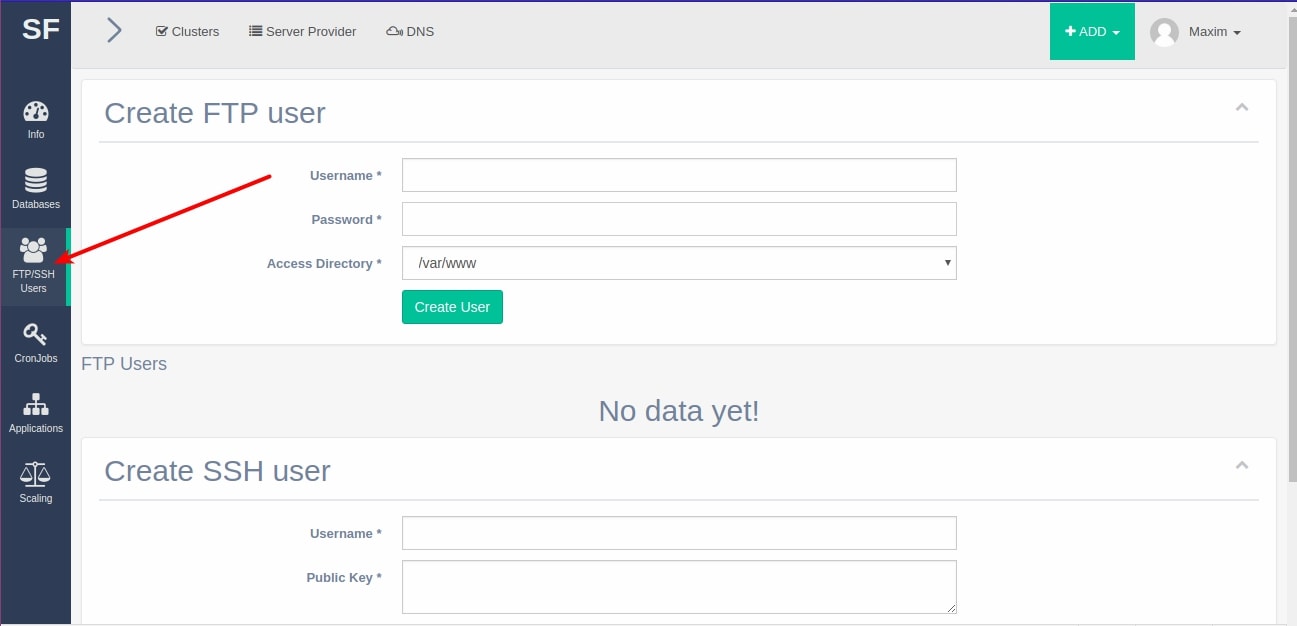
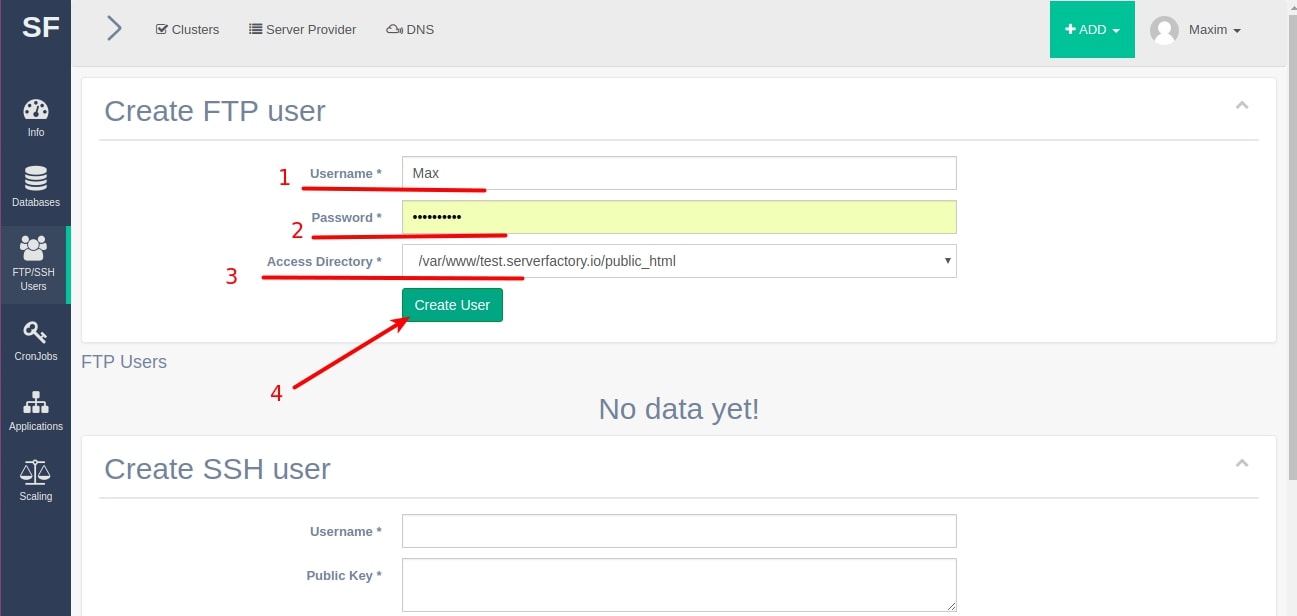
– To create an FTP user, you need to enter all the necessary information and click on the “Create User” button.
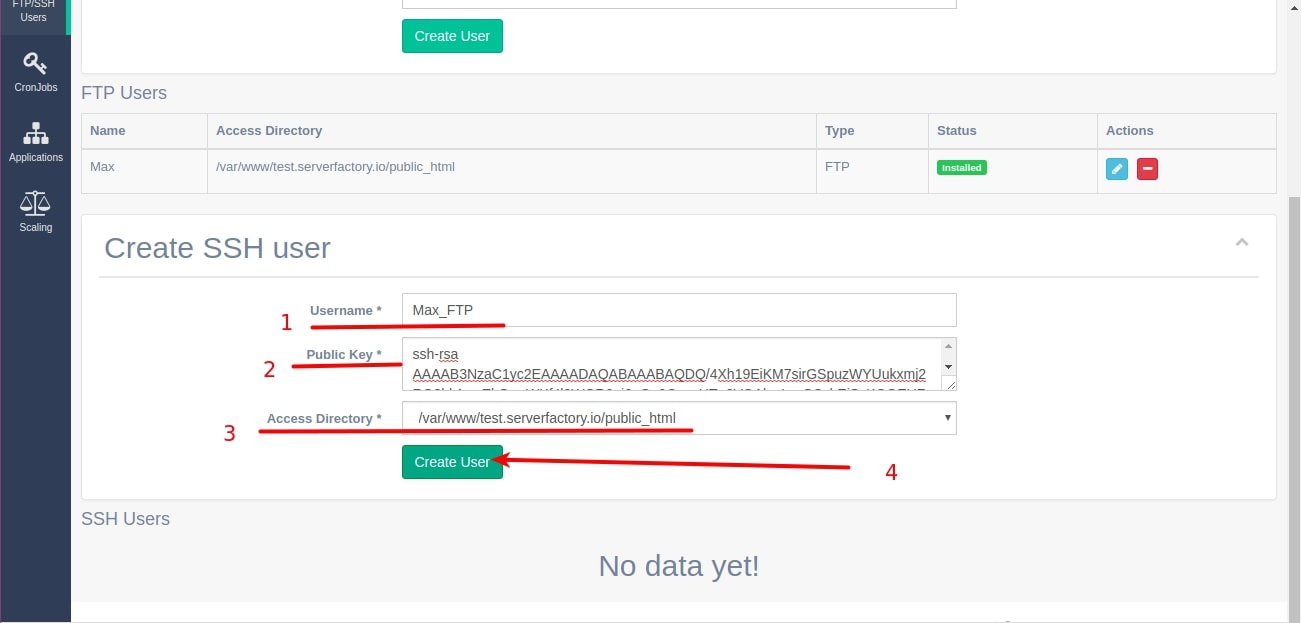
The same way, for SSH user:
– Enter username;
– Enter his public key;
– Press the button “Create User“.
After completing all the above points, we got a clean OVH WordPress installation on a dedicated server. Now you will only have to fill it with content and customize it to your needs.
Most spread questions:
– What should I do if I want to create another application using the same provider?
Easy as an apple pie! You need to create a new cluster and specify the previously created server provider when you create a cluster.
– What should I do if I need to create an application using a new server provider?
You need to create a new server provider and specify it when you create a cluster.